LoDA Guide
Click on the categories below to learn more about how to use LoDA.
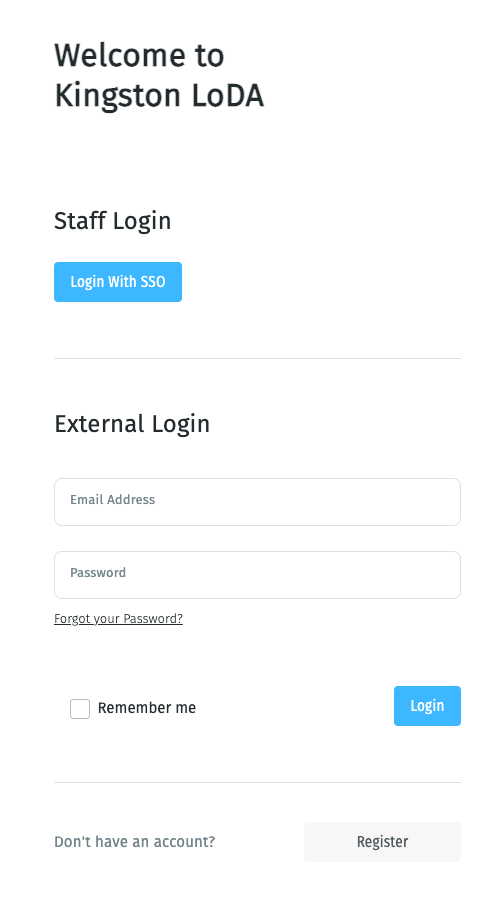
There are two ways to log in to the Library of Digital Assets (LoDA):
There are multiple ways of searching for assets in LoDA.
How to search from the homepage
Method 1
Click in the search bar and type the keywords of the asset you want to find.
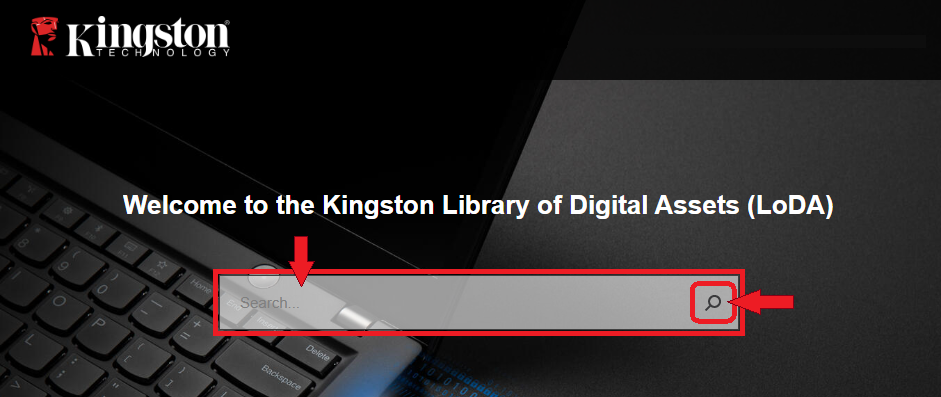
Method 2
Click in the search bar and press ENTER/RETURN in your keyboard OR click the magnifying glass ![]() to show results.
to show results.
Note: If you did not type anything in the search box and hit the magnifying glass, you will be taken to browsing mode.
Method 3
Click on your workspace that is in the top navigation. It will state either "Asset Management" or "Asset Browser" based on your user type.

How to search from the browsing page
If you are already in browsing mode, you can use the search bar in the middle upper section of the browsing mode view. Press ENTER or RETURN on your keyboard when you are done typing your search terms.

Browsing Folders
- Once inside the site, navigate to the panel on the left and select "Browser".
Note: Ensure See-Thru is turned to ON so all assets can be viewed in the library. - Click on the arrow next to the folder to expand the folder view.
- Click on the folder you wish to view and all assets in that folder and its sub-folders will appear.

Advanced search
Advanced search gives you more control over your search criteria. It offers more fields, conditions, and filters.

- Click on the search bar. On the far right, the advanced search symbol will appear.
- Click on the advanced search symbol.
- Select which fields you would like to search for. Some examples include aspect ratio and unique identifier.
- After selecting your search fields of choice, select search (located at the bottom of the screen on the right).
Search modifiers
You can use Boolean operators to perform complex inquiries.
- Use AND between terms to ensure both terms are searched.
- “Yellow AND flower” will yield assets that match both terms. Your results will show only yellow flowers.
- Use OR between terms to find any of the terms.
- “Yellow OR flower” will yield assets that are either yellow or flower. Your results will show anything that is yellow (e.g., yellow pencils, yellow books) and anything that is a flower (e.g., pink flower, blue flower).
- Use NOT to filter out a certain term.
- “Yellow NOT flower” will yield results of anything that is yellow (e.g., yellow pencils, yellow books) and you will not see any yellow flowers.
- Use quotation marks to search for an exact phrase.
- “Pink flower” will yield results of assets that have pink flower in the searchable fields or tags.
- There are 2 wildcards, an asterisk * and a question mark?
- The asterisk is a wildcard that matches any number of characters. Insert the asterisk where you want the asterisk to take the place of one or more characters.
- Data* will yield results for DataTraveler, Databank, DataLocker
- The question mark is a wildcard that acts as a single character.
- L?ne will yield results of line, lone, lane in the searchable fields or tags.
- The asterisk is a wildcard that matches any number of characters. Insert the asterisk where you want the asterisk to take the place of one or more characters.
|
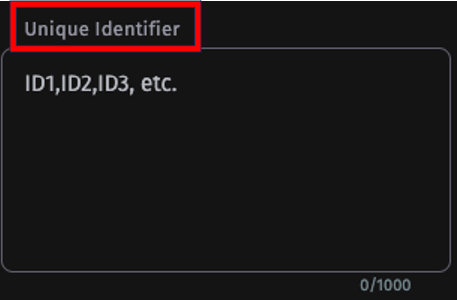
Searching for assets using their Unique Identifier
|
|
Searching for assets based on part of the original file name
You can use this advanced search feature when you know part of the file name of an asset that you are searching for.
- Click on the Advanced Search symbol located in the search bar

- Scroll down to the bottom of Advanced Search.
- In the Additional conditions field, on select a field and select original file name. You can either type in “original file name” or scroll through the list of fields.
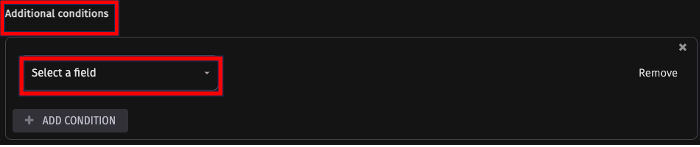
- In the middle field that says equals, click on equals and type contains words.

- In the far-right field, input part of the file name that you are searching for.
- Click the blue SEARCH button.
|


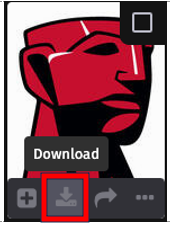
There are different ways to download assets.
 |
|
|

All assets and folders have a Unique Identifier. You can use the Unique Identifier to search for assets. Method 1 and method 2 are instructions for finding the Unique ID of a folder.

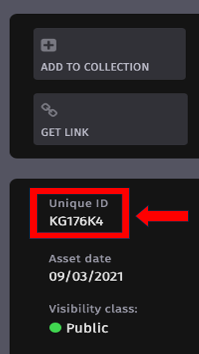
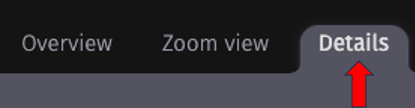
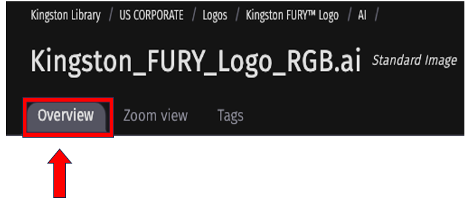
To locate the Unique ID of an asset, click on the asset and go to the Overview tab. To the right of the image, the Unique ID will display in an information box.
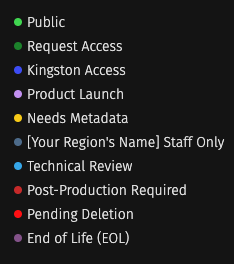
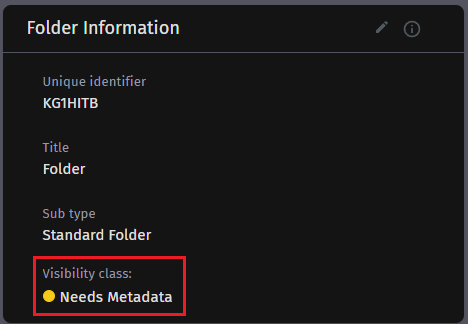
Different Visibility ClassesVisibility classes note the level of clearance required to view, download, or edit a folder or asset.
|
 |
How to change the visibility class on folders
|
|
How to change the visibility class on assetsMethod 1
|
|
|
Method 2
|
|
Standard Folders and Virtual Folders
Make sure to review a folder’s Visibility Class before you share it.
|
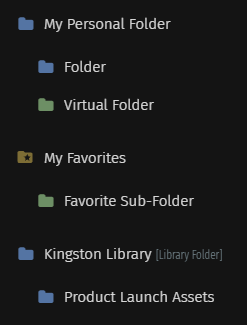
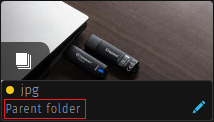
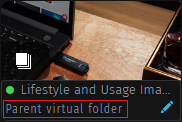
Standard Folders and Virtual Folders are the main types of folders. Standard Folders are blue. Virtual Folders are green. You cannot convert between these two types. While every registered user has a My Favorites virtual folder, Content Creators have access to a personal folder titled My Personal Folder. You can use it in any way you like. Some users use it to store working assets, others use it as a temporary folder before moving assets to their region-specific folder. |
 |
Bundles
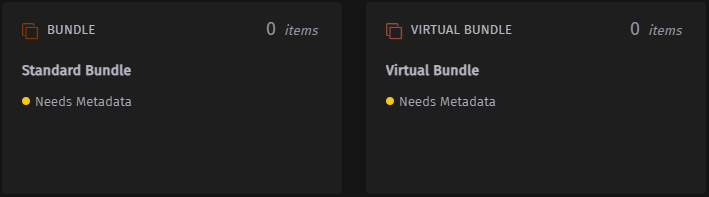
Bundles are a sub-type of folder. Bundles help you curate a small set of files just like you would with a zip file. The biggest benefit is that Bundle folders allow users to always receive the most up-to-date assets. Users can download the whole bundle, or they can pick and choose which assets they need to download. Standard Bundles and Virtual Bundles will not show up in the folder hierarchy because they act like a regular asset.
Standard Folders and Standard Bundles
Standard folder or Standard Bundle is the original location of an asset. Remember to review the Visibility Class for the standard folders or bundles to ensure that other users can see them.
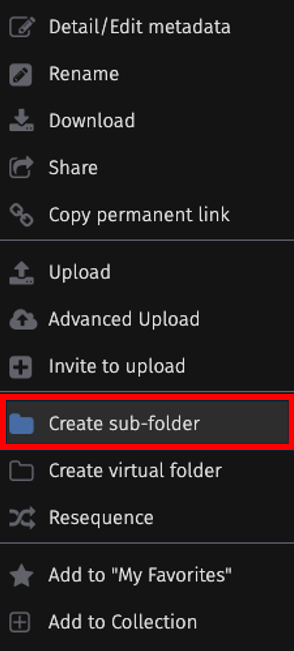
How to create a Standard Folder or Standard Bundle
|
 |
Virtual Folders and Virtual Bundles
Virtual folders give you the ability to create references to assets from a Standard Folder. They are shortcuts to the original asset. If the original asset is updated, then all the references will receive the update too. You won’t have to worry if your folders have the latest assets and helps you avoid any form of duplication. Remember to review the Visibility Class for the virtual folders or virtual bundles to ensure that other users can see them.
You can create a virtual folder inside either a Standard Folder or a Virtual Folder, but you cannot create a Standard Folder inside a Virtual Folder.
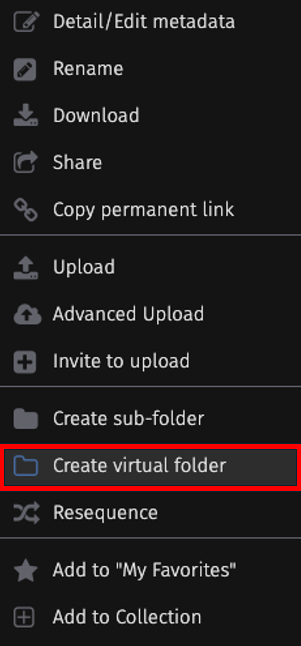
How to create a Virtual Folder or Bundle
Virtual Folders contain references to assets. Any new versions to the original asset will automatically update the asset reference if the asset is in a virtual folder.
|
 |
Managing Asset References in Virtual Folders or Virtual Bundles
How to create asset references
There are multiple ways of creating asset references. You can also create an asset reference to another folder or virtual folder.
|
Method 1: Drag and drop
|
|
|
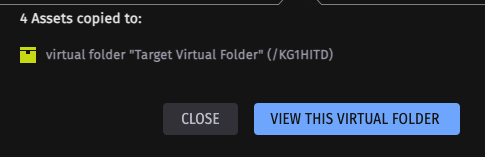
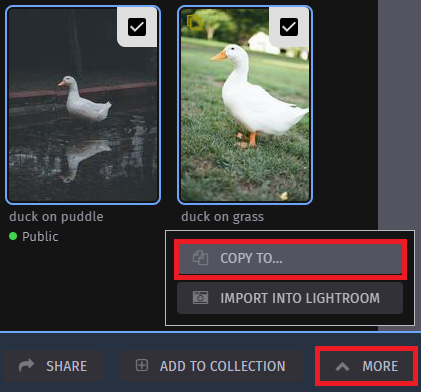
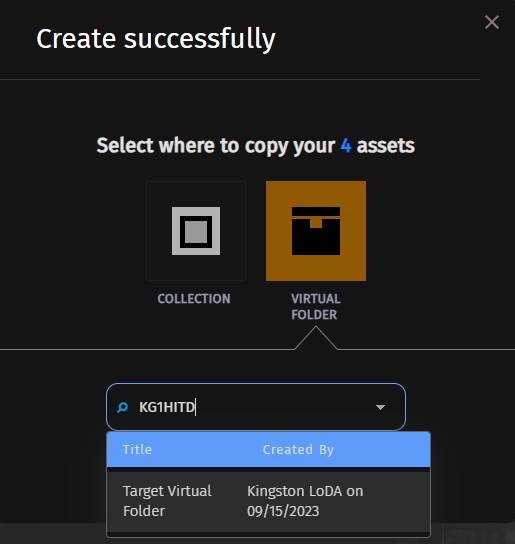
Method 2: Copy to...
Note: It may take a few minutes for your new asset references to appear. |
|
How to remove asset references
There are multiple ways of removing asset references from a virtual folder.
|
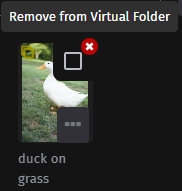
Method 1: Removing single asset reference
Note: This method only applies to removing a single reference. |
 |
|
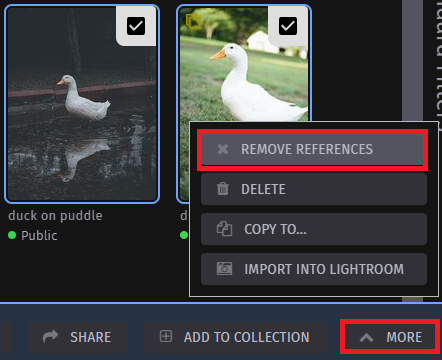
Method 2: Removing single or multiple asset references
|
If you see the option DELETE, do not select it unless you absolutely want to delete the original asset from LoDA. |
|
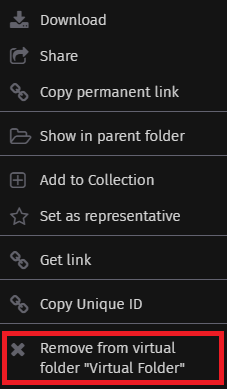
Method 3: Removing single or multiple asset references
|
If you see the option DELETE, do not select it unless you want to delete the original asset from LoDA. |

How to use standard folders, virtual folders and bundles together
|
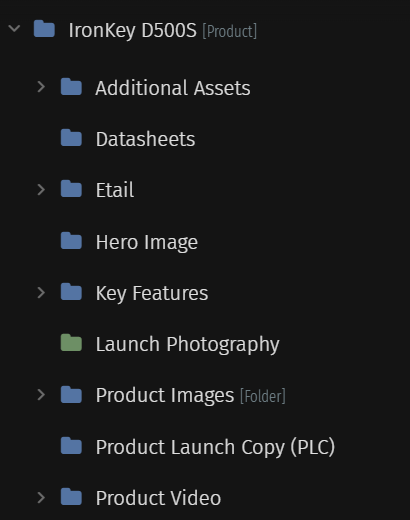
Example 1: Product launch assets by US Corporate Our In-House Photographer stores all the unprocessed and processed photographs in many folders. For product launches, we only need 10 out of the 300 photographs. The screenshot to the right is the folder structure for the IronKey D500S and D500SM. The Standard Folders contain original assets, and the Virtual Folder titled Launch Photography contains references to 10 assets that originally live in other folders throughout LoDA. |
 |
|
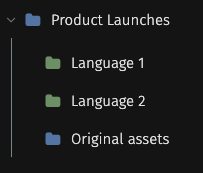
Example 2: Folder structure containing original regional assets and references to US Corporate assets To the right is an example of folder structure for a product and more than one language. If you work with multiple languages, this may be a suitable format. You upload all the original assets from your regional languages to the folder “Original assets”. Then you can reference a mix of your original regional assets and US Corporate-created assets. You may also create a bundle in any of the folders so you can neatly package several assets for quick download. If you want to set up a folder template that auto-creates subfolders, contact the LoDA librarians for help. |
 |
|
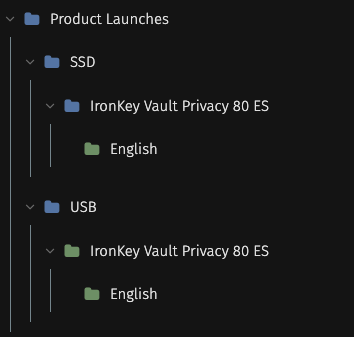
Example 3: Managing assets of multiple categories The IronKey Vault Privacy 80ES (IKVP80ES) can be found in both the SSD and USB Flash Drive pages in the official Kingston website. If you want to add the IKVP80ES to your SSD and USB folders in LoDA, you can follow this example. This example shows a Standard Folder was used to house original assets and then a virtual folder was created under USB to reference all the folders inside SSD/IKVP80ES. |
 |
Managing Containers (Standard Folders, Virtual Folders, and Bundles)
Guidelines for folder names
When naming folders, spaces are acceptable in folder names. Although you can use your local language, you must include an English title with it. You can use dashes or any other valid character to separate them. For example, Campanas - Campaigns.
|
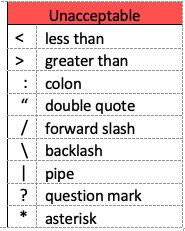
Certain punctuation or special characters should not be used in folder names. The table to the right lists all the unacceptable characters in folder names. Please refrain from using them. If a user tries to download a folder titled Folder/Name, their computer will interpret this as two separate folders because of the use of the forward slash. This can also cause problems if you direct download and then want to direct upload the same existing folder structure in LoDA. |
 |
How to change the visibility class on containers
You can also go to the Details tab to edit the Visibility Class.
|
|
How to find out where an asset is being referenced
|
|
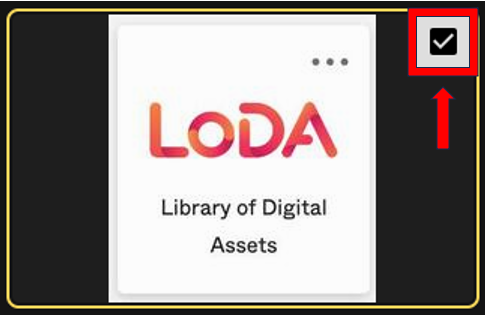
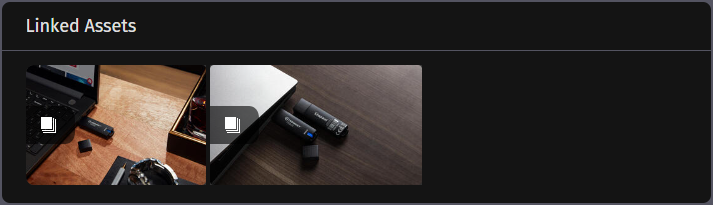
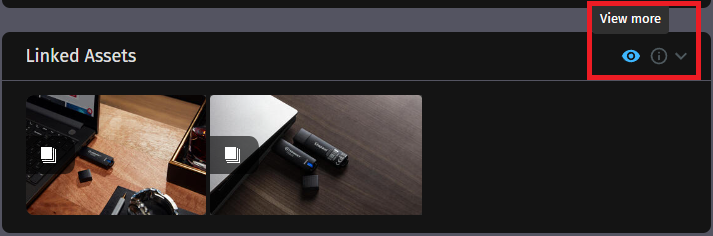
Container Cover ImageBy default, LoDA auto-assigns a cover image to any container (also known as a folder) as soon as an asset or asset reference is added. You will know which asset is used as the cover image for the container because it will have a yellow border around the asset. If the user has their filters set to see containers, they will see the following example:
|
|
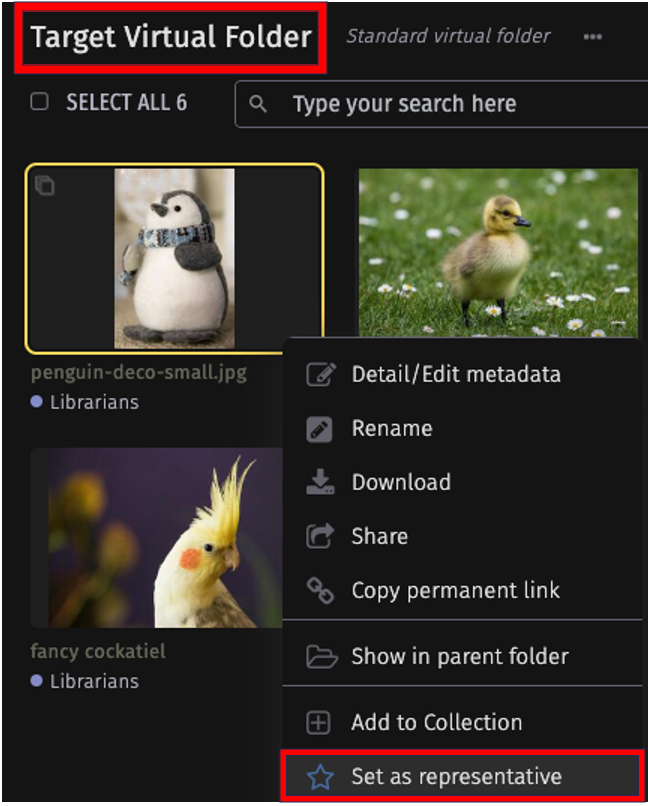
How to change the container cover image
Note: You can verify that the container has the right cover image by opening the folder through Detail/Edit Metadata in the Overview Tab. |
|
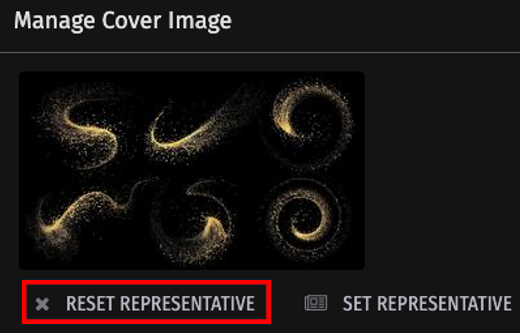
How to reset the container cover image
|
|

Uploading AssetsThere are many ways of uploading assets to LoDA. Some methods may work better depending on your workflow needs. How to upload assets through the Action Menu
|
|
How to upload assets using the drag and drop method
|
|
How to upload an existing folder from your device
|
|
How to Invite people to upload
|
|


How to add tags to assetsNote: All tags should be in English Tags are one of the key factors in making assets findable. A tag is a keyword that you apply to a project or an asset.
|
How to batch edit assetsMethod 1: Side panel batch edit Use when editing multiple assets at once.
|
|
Method 2: Batch edit window
|
How to undo batch editsIf you need to revert changes that you made via batch edit, select standard filters, select batch edit, and select view history.
|


 .
. 


Share links allow the recipient access to only the asset(s) that have been shared with them. Assets shared with a Share link do not show the recipient the location of the asset. Sharing assets with a Share link supersedes all existing permissions, for example, if an asset has a visibility class that normally prevents it from being seen by the recipient, the share link overrides that permission and will allow the recipient to view the asset. In addition, the Share feature allows you to create expirable links.
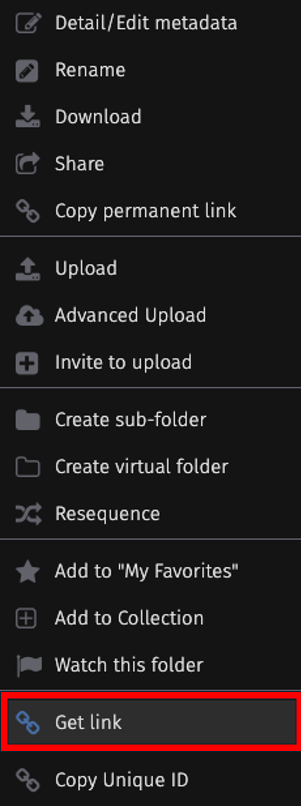
Get link creates a permanent link to the location of the asset. Get link does not give the receiver any permissions; therefore, do not use Get link if you are sharing a folder or asset with someone who you know does not have permission to view the folder or assets or anyone who is not a Kingston Technology employee.
Copy permanent link is used to create a permanent link to a folder. Copy permanent link will only work for one asset.
Note: You cannot share more than 30,000 assets at one time.
- Hover your cursor over the folder that you would like to share.
- Select the three dots to the right of the folder’s name.

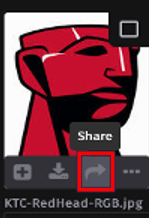
- Select Share from the Action Menu.

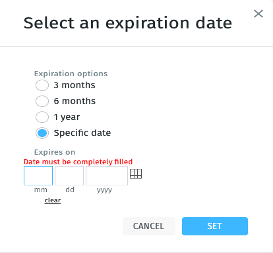
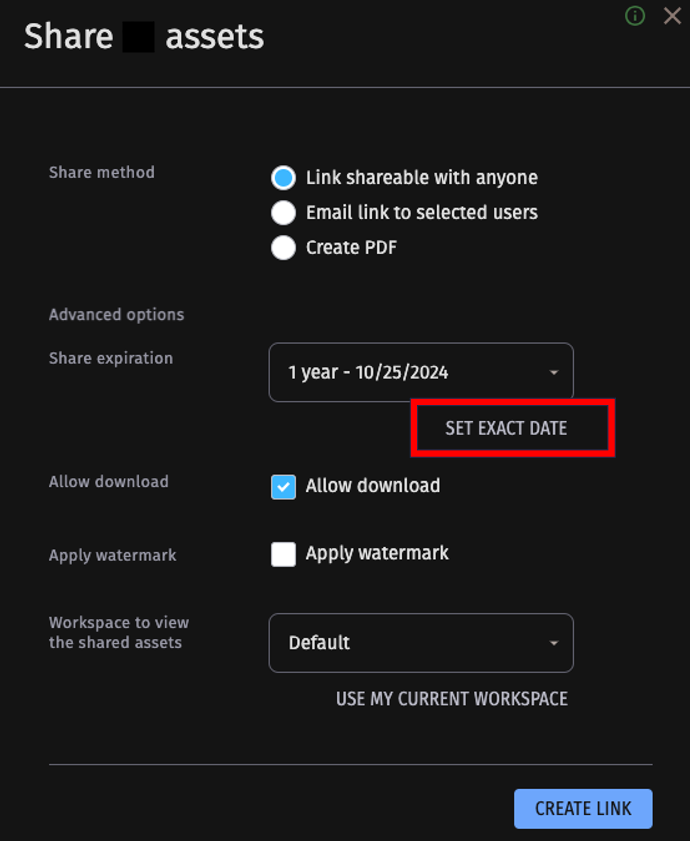
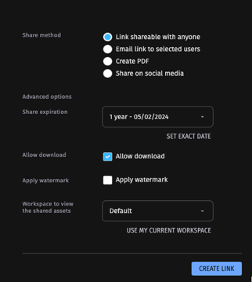
- Select share method (link shareable with anyone, email link to selected users, or create PDF), either keep the Share expiration date as provided or set a new expiration date above set exact date, check the allow download checkbox, then select CREATE LINK.
- Hover your cursor over the folder that you would like to create a link for.
- Select the three dots to the right of the folder's name.
- Select Get Link from the Action Menu.
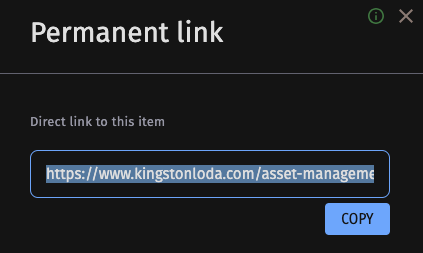
- A link will appear. Copy the link to send to the person(s) that you wish to share it with.
Method 1
|
 |
Method 2
|
|
Share MethodsThere are three main ways to share an asset with other users. If you use “Share” vs. “Get Link” you are sharing your permissions to download the selected assets with the recipient. |
|
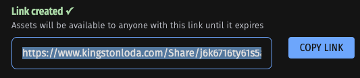
Share method 1: "Link shareable with anyone"Gives you a link to share with others. Once you select “create link,” simply copy the link and share it with the intended users.
|
|
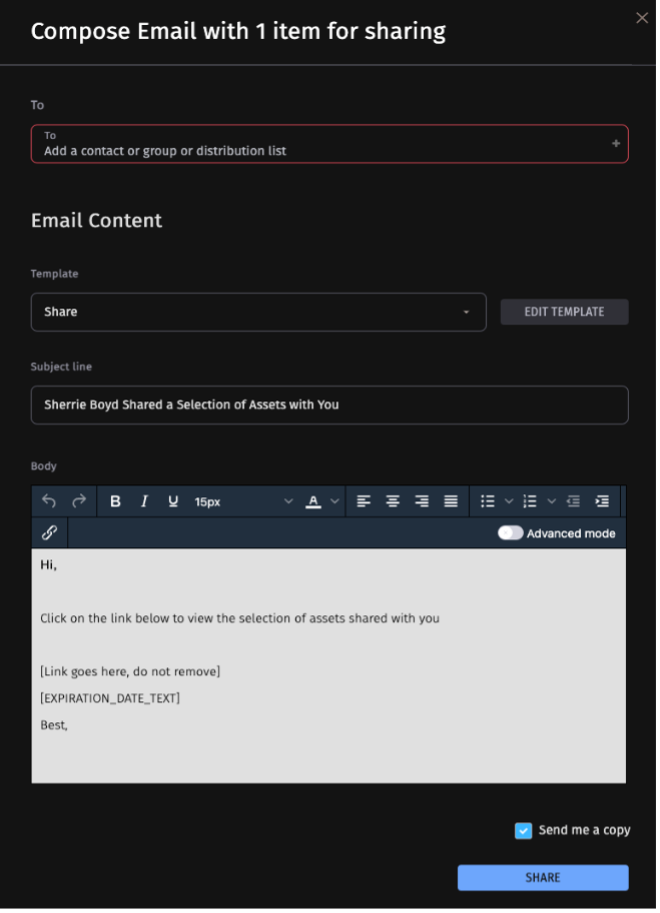
Share method 2: "Email link to selected users"Allows you to send a direct email to the intended user or users. Once you select “Compose Email” there will be a popup that allows you to share with specific users or groups. You have the option to customize the email before it is sent. You may leave the checkbox “Send me a copy” checked if you want to receive a copy for your records. |
|
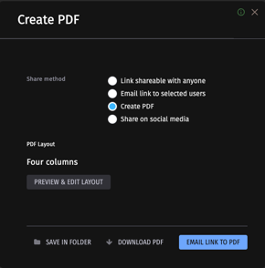
Share method 3: "Create PDF"Creates a PDF version of all the selected assets. You can customize the number of columns and preview the PDF that will be generated. You can save it to a folder within LoDA, download the PDF, or email a direct link to the PDF.
|
|
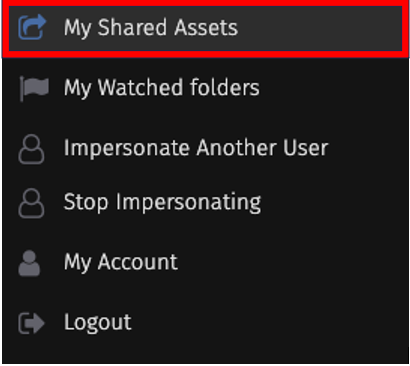
How to view my shared assetsThe my shared assets page allows you to view the details of assets you have shared with others.
|
|

|
|